
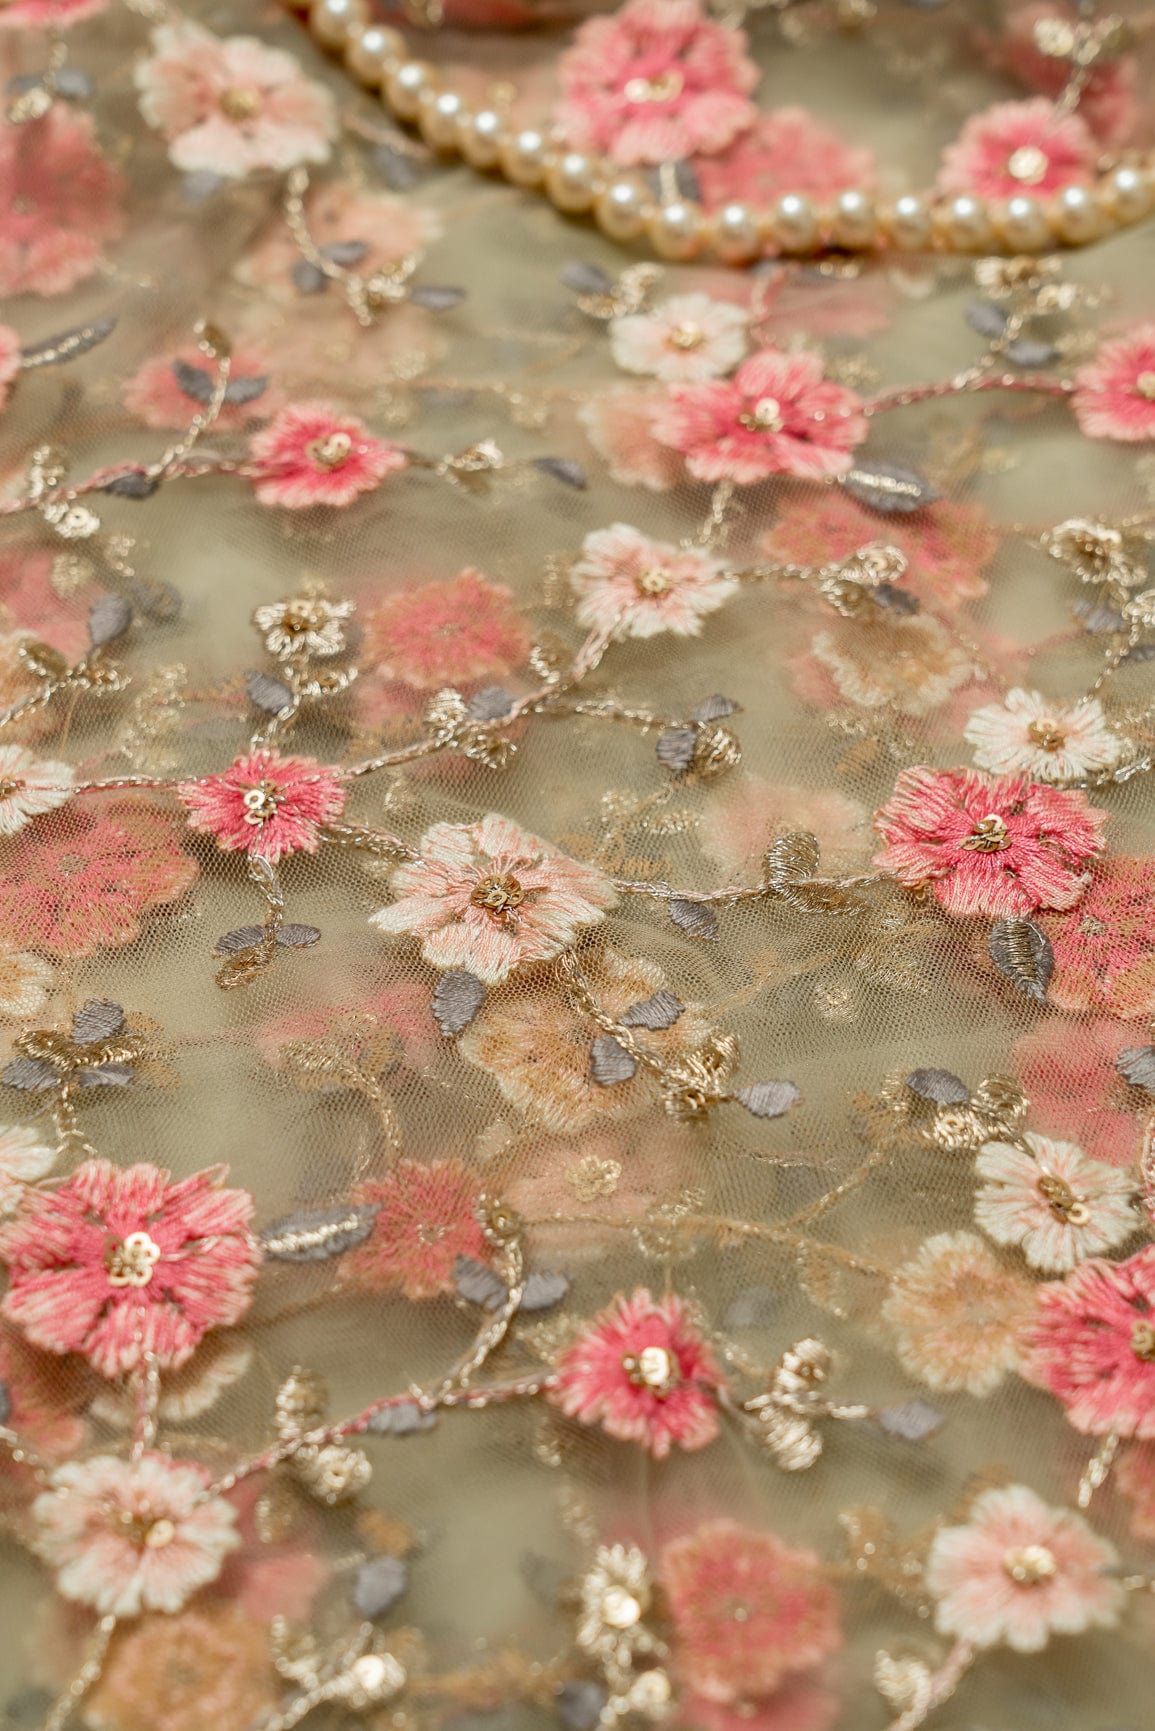
Plan embroidered fabric placement by mapping the garment's visible areas, seams and shaping onto the full embroidery repeat before cutting. Keep the intended motif direction and border position in that layout; turning a pattern piece to save fabric can change the design you wanted to wear.
- Plan embroidered fabric placement on the garment pattern before cutting.
- Mark grain direction, motifs, borders, darts and openings together.
- Doeraa suits shoppers choosing embroidery whose placement matters to a custom outfit.
- Calculate fabric quantity only after checking the usable width and layout.
Why placement is part of the fabric purchase
Embroidery can make a neckline feel centred, connect a sleeve to a hem or frame the edge of a dupatta. Those effects depend on where the decorated areas survive the cut. An attractive roll photograph does not establish the finished garment layout.
When browsing embroidered fabrics, ask for a view that shows the repeat and boundaries of the design. You need more than stitch detail. The placement question is whether the motif fits your pattern where you want it.
For a 2026 outfit, settle the important placements before ordering the final quantity. A cutting plan that protects a centre motif can use the fabric differently from a plan that simply fits all the pieces. The order should follow the design decision.
How do you plan embroidered fabric placement before cutting?
Follow this sequence with your tailor:
- Finalise the garment pattern and intended fit.
- Identify the fabric's usable width, grain and motif direction.
- Mark the key visible areas on the pattern.
- Position motifs and borders on those areas.
- Check darts, seam allowances, closures and adjacent pieces.
- Confirm the complete layout before calculating the cut.
| Placement approach | Best for | Main advantage | Limitation |
|---|---|---|---|
| Centred motif | A clear front or back focal point | Deliberate visual balance | Shaping can interrupt the chosen centre |
| Repeated motif | A distributed pattern | Consistency across garment areas | Seams still need planned treatment |
| Border placement | Hems, sleeves or selected edges | A defined frame | Straight borders do not fit every curve |
| Directional trail | A design with a clear upward or downward movement | A connected visual line | Pieces cannot be rotated casually |
Use the table to identify what matters most to your design. None is automatically better than the others. A pattern with fewer interruptions can be the stronger choice for a particular motif.
Finalise the garment before arranging the cloth
Make sure the silhouette, sleeve shape and openings are agreed. If the neckline changes later, a carefully placed motif can lose the area you planned to display. A provisional sketch is not the same as a final cutting pattern.
Tell your tailor which design details are essential and which can move. A single non-negotiable centre flower is a different brief from a loosely distributed floral surface. The distinction helps when the available width creates constraints.
For your 2026 design record, keep the final sketch beside the fabric reference. Label it clearly if the garment changes. This avoids a layout being approved against an earlier version of the outfit.
Read the whole repeat
Find the distance and direction between repeated motifs in the actual design. You do not need to invent a repeat measurement from a photograph. Ask for clarification when the image does not provide a reliable scale.
Check whether the design changes across the width. Some fabrics have a stronger area near an edge, while others repeat more evenly. Do not assume the close-up represents every part of the supplied cut.
Mark the design's top and bottom where those are visible. A trail, leaf or decorative arrangement can have an orientation even when the base fabric looks similar from different directions. Your pattern layout should acknowledge it.
Keep grain and motif decisions separate
The grain direction and the decorative direction are related layout constraints, not interchangeable instructions. Do not rotate a pattern piece simply because the embroidery appears to fit better. Ask your tailor how the pattern's grain requirement will be maintained.
A published Threads sewing guide on accurate pattern layout explains that cutting askew to grain affects garment drape and that directional changes can be noticeable. That is a reason to preserve the pattern's intended orientation, not an instruction to force every motif into the same position regardless of construction.
When the fabric cannot deliver both the intended motif and the correct pattern layout, revise the design before cutting. A different panel arrangement or fabric can be a better solution than accepting an unplanned compromise.
Mark the visible centre and edges
Identify the centre front, centre back, neckline, hem and displayed sleeve areas. Decide where the strongest embroidery should sit relative to those positions. Mark the actual finished edge, not just the outside of a seam allowance.
A motif at the edge of a pattern piece can be partly hidden during construction. That is acceptable when intentional. It is not acceptable to assume every visible part of the uncut piece will remain on the finished garment.
Use a simple annotation list:
- Centre line and focal motif.
- Finished neckline or opening.
- Darts and shaping lines.
- Seam allowance boundaries.
- Hem or border position.
- Direction of each pattern piece.
Doeraa's embroidery fabrics provide designs to compare against these needs. The shortlist should be narrowed by what can actually be placed, not by decoration alone.
Check what darts remove or fold
Darts introduce shaping, so they can change how a motif appears. Place the dart lines on the fabric reference before approving a design. Ask whether the motif will remain readable after the fabric is folded and sewn.
The same question applies to pleats and gathers. A flower visible on the flat cloth can be partly concealed in the finished garment. Decide whether you want to preserve that flower or allow the repeated pattern to break naturally.
For a 2026 blouse or fitted bodice, this step deserves particular attention. Small pattern areas can contain several important construction lines. Do not expect a large motif to remain intact without checking where those lines sit.
Review adjacent panels together
Look at the front beside the back, and one sleeve beside the other. Decide whether you want mirrored placement, matching direction or a deliberately varied arrangement. These are different design briefs.
Do not call an arrangement symmetrical unless the fabric and cut actually support it. A photographic reflection or rotated preview is not proof that the supplied motif can be mirrored. Ask the tailor to assess the real design.
For a panelled skirt, review the joins in the order they will be assembled. A motif can look balanced on separate pieces and change at the seam. Approve the relationship between pieces, not just each piece in isolation.
Resolve borders before ordering
Determine which supplied edge carries the border and how the border will be used. A straight embroidered strip does not automatically follow a curved hem or neckline. The tailor should explain the construction approach.
If the design needs more than one decorated edge, confirm that the selected cut can provide it. Do not assume a product photograph of one border represents a complete garment-ready arrangement. The material and the garment are different things.
When comparing net embroidery fabric, include the lining plan in the border discussion. The underlayer can change the appearance of open spaces around the edge. Judge the combination you intend to wear.
Calculate quantity from the approved layout
Only calculate the order after the important placements are resolved. Usable width, motif direction and border alignment affect how pieces fit. Total garment area is not a complete substitute for a working layout.
Doeraa's displayed sizing guide distinguishes 44-inch and 56–60-inch widths. Confirm the actual width of your selected product rather than borrowing a measurement from the general guide. Ask whether any unembroidered margins or borders constrain usable placement.
Keep the final quantity decision with the layout. If the garment, fabric width or motif arrangement changes, revisit it. An earlier length recommendation is not automatically valid for a revised design.
Should embroidered motifs match across every seam?
Matching across every seam is a design choice, not a universal requirement. Decide which joins are visually important and which can break the repeat. Then have the tailor assess whether the selected fabric can support that plan.
A more deliberate match can change the cutting requirement. Do not demand it after purchasing a cut that was calculated for a different layout. Agree on the priorities before ordering.
Can you turn pattern pieces to fit more efficiently?
Turn pieces only when the pattern's grain requirements and the fabric's design allow it. A directional motif can become inverted, and a changed orientation can alter how the material reads. Your tailor should make that decision from the actual pattern and cloth.
Efficiency is useful only when the finished garment still meets the brief. If saving a small area loses the intended focal motif, decide whether the trade-off is worth making before cutting begins.
Why does placement vary between garments?
Placement changes with the underlying constraints:
- Pattern shape: which visible areas are available.
- Motif repeat: the size, spacing and direction of the design.
- Grain: the orientation required by the pattern.
- Shaping: the darts, gathers and pleats in the garment.
- Borders: the decorated edges supplied by the fabric.
- Usable width: the area that can serve the layout.
Use these factors in your 2026 buying discussion. They explain why a design that works for a loose kurta is not automatically easy to transfer to a fitted blouse.
FAQ
When should I plan embroidery placement?
Plan embroidery placement before finalising the fabric quantity and before cutting. Use the final garment pattern rather than an unfinished sketch.
Can a dart cut through an embroidered motif?
A dart can change how a motif appears after shaping. Mark the dart on the fabric layout and decide whether that interruption is acceptable before stitching.
Should motifs be identical on both sleeves?
Identical placement is optional and must be supported by the actual fabric. Decide whether you want matching, mirrored or deliberately varied sleeves, then confirm the layout.
Can I use a straight embroidered border on a curved neckline?
A straight border needs a suitable construction plan before it is used on a curved neckline. Confirm the approach with your tailor instead of assuming it will fit.
Does motif matching affect fabric quantity?
Motif matching can change how pattern pieces fit into the usable fabric. Have your tailor calculate the quantity from the approved placement plan.
Can I rotate embroidered pattern pieces to save fabric?
Rotate pieces only when the pattern grain and decorative direction allow it. Ask your tailor to assess the actual fabric and garment rather than making the decision from a photograph.
One last thing: approve the empty spaces too
Before your 2026 cutting layout is approved, look at the spaces between motifs. Those areas help frame necklines, seams and garment details. A successful layout places the quiet areas as deliberately as the decorated ones.
Doeraa embroidered fabric suits custom-outfit shoppers when the chosen motif can be placed where the pattern needs it. Keep the design and construction on the same sheet before the scissors touch the cloth.


コメントを書く
このサイトはhCaptchaによって保護されており、hCaptchaプライバシーポリシーおよび利用規約が適用されます。